Authorization Service
Authorization Service (Auth) — is a Brainysoft service designed to manage user authentication and authorization in Brainysoft. The service provides secure storage of credentials, issuance of access tokens (bsauth), and access rights management through a system of roles and permissions (scopes). All Brainysoft API services use tokens issued by this service to authorize requests.
Guide for Working with the Brainysoft Authorization Service
1. General Information
The authorization service is designed for:
- Storing user and client credentials.
- Issuing access tokens that are used for authorization in other applications.
Credentials for accessing the service can be obtained:
- From Brainysoft technical support staff.
- Independently through the authorization service interface.
2. Access to the Authorization Service
- Link to the authorization service: https://{customer-key}-auth.brainysoft.ru

- To access the administration panel, you need an account provided by the administrator who deployed the service.

3. Creating a New User
Creation steps:
- Go to the Client Applications List section.

- Click the "+" button in the upper right corner.

In the opened "Create ClientApp" window, fill in the following data:
Basic Information:
- Display Name — specify a unique name for the user.
- BsAuth Key — the field will be filled automatically or manually (depending on settings).
- ClientApp Active — toggle switch, enable to activate the user immediately after creation.

Resources:
- Check the "All resources available" checkbox if you need to provide access to all resources.
- Or click "Add resource" and select specific resources.
- After selecting a resource, click the "Add resource" button.

Scopes (Permissions):
- Check the "All scopes available" checkbox if you need to grant all permissions.
- Check the "All scopes approved" checkbox if you need to automatically approve all permissions.
- Or click "Add scope" and select specific permissions from the list:
core_basic— basic permissions.admin:read— read administrative data.admin:write— write administrative data.account:read— read account data.account:write— write account data.account:pswrd— password management.account:totp— two-factor authentication management.
- After selecting a scope, click the "Add scope" button.
- For approved scopes, use "Add approved scope".

Roles:
- Click "Add role" and select the required roles from the list. For example:
ADMIN— administrator.MANAGER— manager.USER— user.ADMIN_10,BUH_60— specialized roles.
- After selecting a role, click the "Add role" button.

Authorization:
Access token lifetime (seconds) — specify the access token lifetime in seconds (default value
-1). Access token — is an access token used to authorize API requests. Usually has a short lifetime (for example, 20 minutes) for security.Refresh token lifetime (seconds) — specify the refresh token lifetime in seconds (default value
-1). Refresh token — is a token for refreshing the access token. Used to obtain a new access token without re-authorizing the user. Usually has a longer lifetime (for example, 30 days).Click "Add GrantType" and select authorization types from the list:
authorization_code— authorization code.refresh_token— token refresh.client_credentials— required for obtaining an access token via API.password— password authorization.implicit— implicit authorization.
After selecting a GrantType, click the "Add GrantType" button.

Registered URIs:
- Click "Add URI" and specify the redirect URI.
- This is the address to which the authorization server will redirect the user after successful authorization.
- For example:
https://{customer-key}-saas.brainysoft.ru

- Click the "Create Client Apps" button.

After successful creation, a notification will appear with automatically generated data:
- Login (
client_id) — client identifier. - Password (
client_secret) — client secret key.
Important: Save the login and password — you will need them to obtain an API access token. This data is displayed only once when creating the user.
- Login (

4. Additional Configuration in Brainysoft-Admin
After creating a user in the authorization service, additional configuration is required:
- Go to the Admin → Users section.

Select the created user.
In the opened "User Editor" section, find the created user in the table. To edit, click on the user's name in the "Name" column or click the blue button with the pencil icon (edit) in the "Actions" column.

Assign a role and department.
In the opened user editing form, select the required roles from the available list and department from the department list. Save the changes.

5. Obtaining an Access Token
To obtain a temporary token, use Postman.\n
Detailed description - Authorization Service API.
Example:

6. Two-Factor Authentication (2FA)
The service offers two-factor authentication — an additional level of protection that prevents access to your data even if attackers learn your password.
The principle is simple: after entering the password, the system will request a one-time confirmation code. This code can only be obtained from your personal device.
Setting Up 2FA for a User
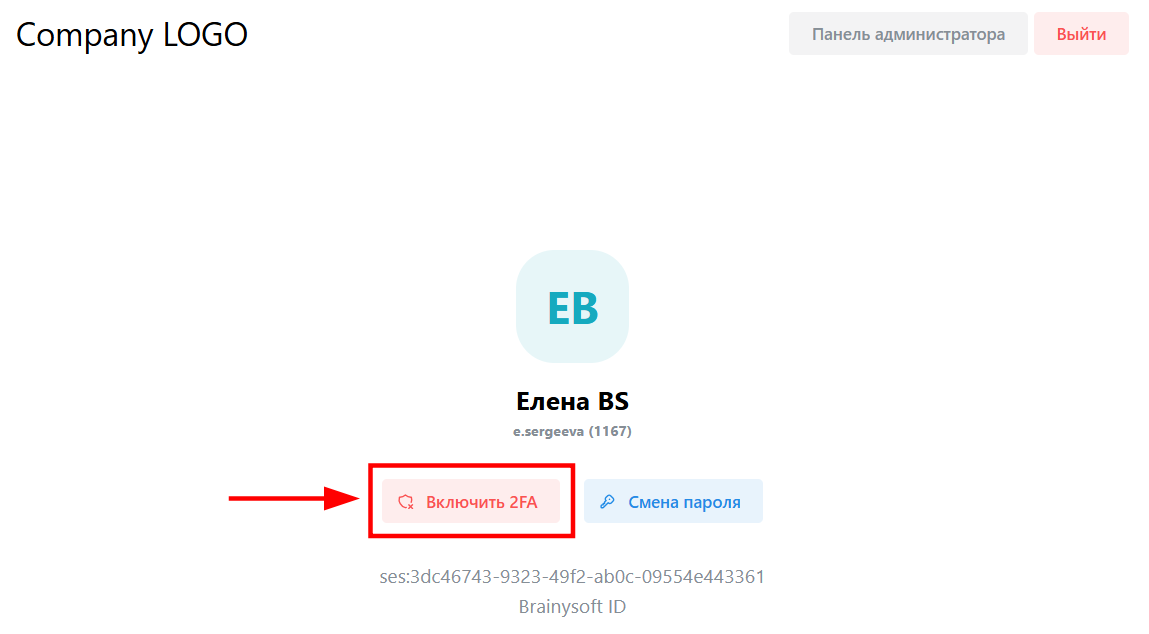
- Go to the link in the authorization service: https://{customer-key}-auth.brainysoft.ru.
- Log in using your BS login and password.
- In the opened window, find and click the "Enable 2FA" button.
- In the popup window that appears, select the authentication application.

Setting Up the Authenticator App
To scan the QR code, you need to download one of the two-factor authentication applications.
Available applications:
- 2FAS - open-source software supported by the community, a private and simple solution for protection against security breaches.
- iOS: Download from App Store.
- Android: Download from Google Play.
- Google Authenticator - software authenticator from Google.
- iOS: Download from App Store.
- Android: Download from Google Play.
For example, QR code for scanning with the Google Authenticator app on Android. After downloading the app, click the "Next" button to continue setup.

- In the app on your personal device, press "+" → "Scan QR code", which you see on your monitor screen in the authorization service.
- After scanning, an account and authorization code will appear on your personal device.
- Enter the code in the "TOTP (one-time code)" field in the authorization service. Click "Verify and enable".

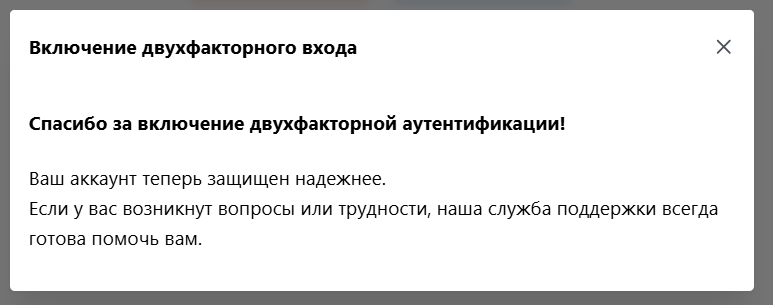
- After successfully enabling two-factor authentication, a window with a message will appear. The next login to Brainysoft will require login, password, and code from the authenticator app.
Viewing 2FA Status for Users
An administrator can view which users have 2FA enabled. If the checkbox is not checked, two-factor authentication is not enabled for the user.

Disabling 2FA for a User
If a user does not have access to the device (for example, lost their phone) on which the app is installed that sends the code, the administrator can disable 2FA to reconnect two-factor authentication on another device.
