Write-off by Cession
Filling in the Counterparties and Cession Agreements Directory
Go to the Counterparties directory, which stores the list of Cessionary organizations to which contracts are sold. To fill it in, click the green button – Create.

Next, the Counterparty filling page will open, where you need to fill in the fields:
- Counterparty (Full name)
- Counterparty (Short name)

Then save the Counterparty
Filling in the Cession Agreements Directory
Go to the Cession Agreements directory, which stores the list of numbers and details of cession agreements based on which contracts are closed by the Close by Cession process. To fill it in, click the green button – Create.

Next, the Cession Agreement filling page will open, where you must fill in the following required fields:
- Name
- Creation date
- Cession Counterparty (Full name)
- Identification data of the rights acquirer (fill in the organization's OGRN here)
- TIN of the rights claimant acquirer
- SNILS of the rights claimant acquirer

The Name field should always be filled with a unique number. Then save the Cession Agreement.
Cession agreement numbers must be UNIQUE and not overlap between counterparties.
Contract Write-off by Cession
To write off a contract by cession, go to the desired contract in the Financial Information tab and click the Adjustments button.

Next, select the process - Close by Cession. The date for which the closure will be performed must be greater than the Last Operation Date. After setting the cession closure date, select the Cession Agreement from the list pulled from the Cession Agreements directory. Then click the Start Process button.

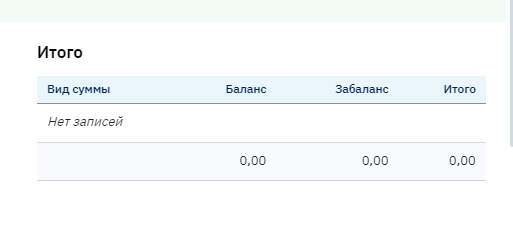
After successful closure by cession, the following characteristics are set for the contract
- The balance amount is fully written off
- In the Detailed Information tab, records of movements for closing the contract by cession appear

- On the contract tab, the contract status appears – Closed and the Closure status – Written off by Cession.

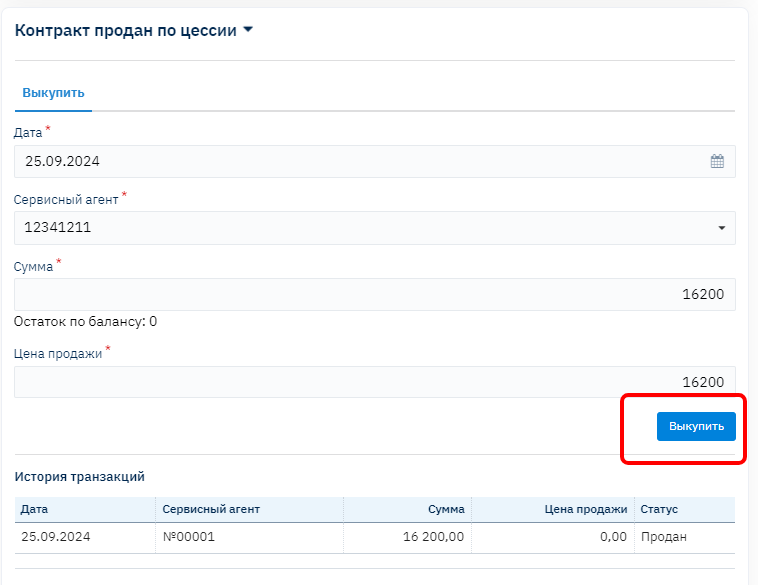
- On the contract tab in the Widget - Contract sold by cession, information about the contract sale appears.

Widget in Contracts for Cession Write-off\Buyback (Buyback and Sale)
Restoring a contract after closing by cession and its resale or write-off for bankruptcy.
Before the buyback, you need to go to the contract tab and in the Contract sold\bought back by cession widget, fill in the corresponding fields and click the button – Buy Back. This is needed to set the corresponding status to the contract and to export credit history information.

After setting the contract buyback status, you need to go to the contract tab – Financial Information, and perform the Adjustment – Restoration. For correct restoration, you need to specify the last operation date and click the button – Execute.

After successful completion of the restoration process, the contract status will be set – Bought Back, the contract will lose its closing date and the balance will be displayed.

In the detailed information, documents that were produced for restoring the contract balance amounts will appear.

Next, to re-close by cession or write off the contract for bankruptcy, you need to go to Adjustments in Financial Information again and start the Close by Cession or Write-off processes respectively.

As seen in the examples, a repeated Close by Cession was performed with a different date.

Also, in the Contracts tab in the Contract sold\bought back by cession widget, another record about the contract sale by cession will appear.

Mass Operations for Contract Write-off by Cession
For mass write-off of contracts by cession, you need to have a list of contract IDs, date, and cession agreement number. Next, you need to roll back all processes to the cession closure date. Access for mass rollback is available to users with Tech Support status. Go to the Admin – BackOffice – Mass Rollback menu, then enter the contract IDs separated by commas in the large field and set the date\time (the date on which the cession is closed and the time at the beginning of the day). Then click the red button
- Delete operations.
- Be sure to wait for the deletion of all operations to complete !!! in the field - Tasks in queue.
- Be sure to check several contracts that were specified in the list - in the Processes tab, that the processes were deleted up to the date and time specified in the mass rollback !!!

After the mass rollback to the cession closure date, go to the Admin – BackOffice – Mass Contract Processing menu. Then enter the contract IDs separated by commas in the large field and set the date\time (the date on which the cession is closed). In the Process Type field, select from the dropdown list – Close by Cession. In the Cession Agreement field, select the corresponding agreement (previously filled in the Cession Agreements directory). Then click the green button – Process.

- Be sure to wait for the processing of all contracts to complete !!! in the field - Tasks in queue.
- Be sure to check several contracts that were specified in the list - in the Financial Information tab, that the contract has the status Sold by Cession and has a zero balance !!!