Decision Making System
At the end of the article, you can watch the VIDEO TUTORIAL
The Decision Making System (DMS) is an automated tool that helps responsible persons assess the borrower's creditworthiness when reviewing loan applications. DMS is a step-by-step verification of the borrower according to predetermined parameters.
The diagram below shows an example of an application path within the DMS:

Thanks to flexible settings and multiple verification criteria, any borrower assessment logic can be implemented.
DMS Configuration
To configure the DMS, follow these steps:
Go to the menu Admin > Credit Pipeline > Decision Making System.

In the opened section, you will see a list of existing DMS schemes. By clicking on one of them, you can view the verification steps. It is important to remember that if verifications have already been performed using one of the schemes, it will be impossible to edit it, as rejection statuses are stored in the system for analytical purposes.
To create a new scheme, click the Create button.
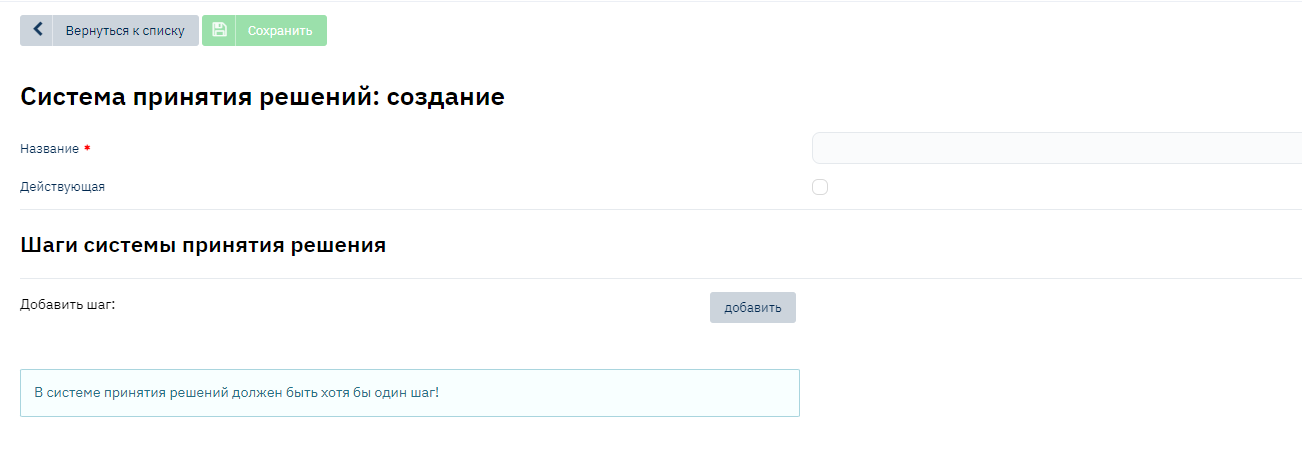
Enter the scheme name and add the first verification step by clicking the Add button. Select the verification type from the dropdown list.

Verification Types
- Rosfinmonitoring – passport verification against the Rosfinmonitoring blacklist.
- FMS Passport Verification – passport verification against the FMS invalid passports database.
- Equifax Credit History – automatic credit history request.
- NBKI Verification – automatic credit history request.
- Skorista – automatic scoring assessment request.
- Internal Scoring – assessment based on internal scoring.
- Manual Verification – the application is transferred to the specified user for manual verification.
- Expression Execution – verification of specific fields against set parameters.
- Command Execution – execution of special commands.
- Blacklist verifications (provided by the client and uploaded to the system):
- Card number verification.
- Full name verification.
- Company name verification.
- MAC address verification.
- Mobile phone verification.
- E-mail address verification.
- IP verification.
- TIN verification.
- SNILS verification.
- Passport series verification.
- Passport number verification.
- Date of birth verification.
Example of the first verification step – "Rosfinmonitoring":

- Verification Type: Select from the list.
- Blocking: If "Yes", the application is blocked at this stage upon failed verification. If "No", the application proceeds to the next step.
- Rejection Reason: Specify the rejection reason from the "Rejection Reasons" directory.
Example of the Second Step: Expression Execution
At this step, you can verify the compliance of specific fields with set parameters. For example, borrower's age, region of residence, income, etc.
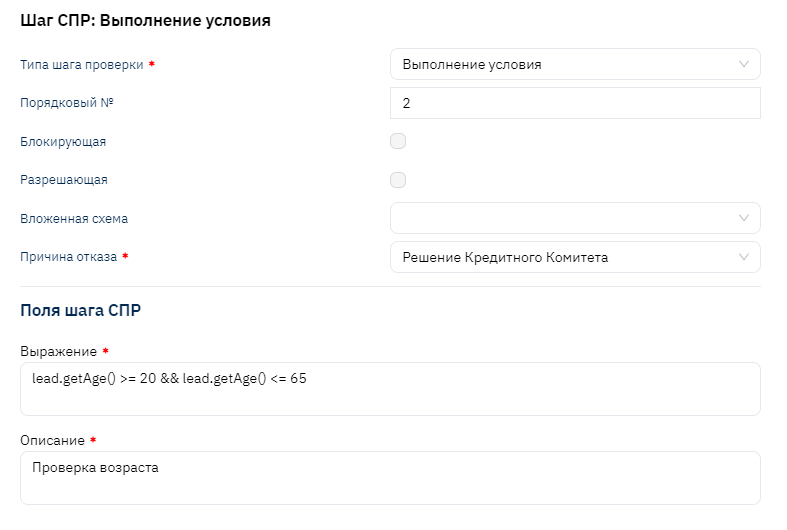
- Expression: Enter the verification condition. A list of frequently used expressions is available here.
- Description: Specify the expression description.
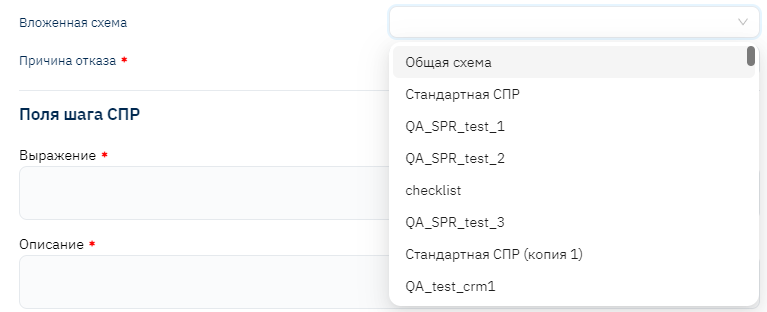
- Nested Verification: For complex schemes, you can specify an alternative verification branch.
Third Step: Specialist Review
At this stage, the application is transferred to a responsible employee for manual review.
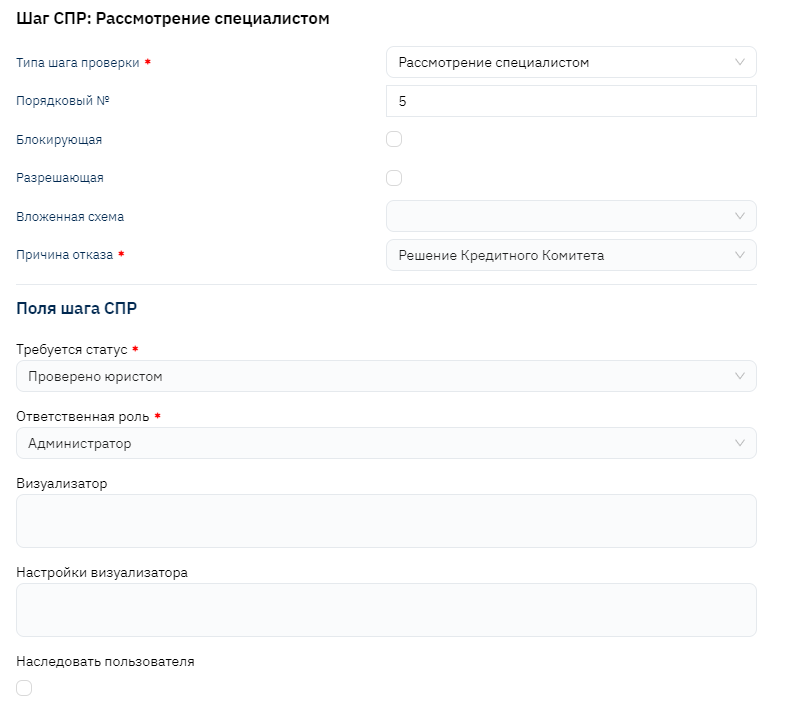
- Responsible Role: Specify the role to which the application will be transferred.
- Application Review Status: Select the status that will move the application forward. If this is the last step, the application receives the "Approved" status, and a contract is created.
Additionally: Checklist Verification
A checklist verification can be added to the DMS. To do this, select the verification type "Specialist Review" and specify the visualizer "CheckList".

Configuration example:
{
  "list": [
    { "field": "naturalPerson", "required": true, "label": "Физ лицо (поле лида)" },
    { "field": "extraField_first", "required": true, "label": "Первый пункт" },
    { "field": "extraField_second", "required": true, "label": "Второй пункт" },
    { "field": "extraField_third", "required": false, "label": "Третий пункт" }
  ]
}
Field Descriptions:
- field: Field to verify (for example,
naturalPerson– person type). - required: Mandatory completion (
true– yes,false– no). - label: Displayed item name.
For arbitrary values, use the prefix
extraField_.
Instructions for Working with DMS
Instructions for working with manual application review are available here.